The importance of cropping

When modern cameras take pictures, they are taken so that they are in a 2:3 ratio. This means that the long side is 1.5 times longer than the short side. The images that you receive when you purchase digital files from me are in this native ratio. When you are printing in any combination of the 2:3 ratio, your image will print exactly as you see it on the screen. Common sizes at this ratio are 4x6, 8x12 and 16x24.

When you are printing, you are often given many more options that just the 2:3 ratio. If I believe that an image should be printed in a certain way, I will often give you this suggestion in addition to the native file on your USB. For example, this image would lend itself nicely to a square print.

SydneyNewbornPhotographer_950

Some images cannot be printed well at certain sizes. This image is beautiful at the native ratio of 2:3

Hills Newborn Photographer-Eg_950

However, if we print it as a 5x7", we get too close to the subject and the print won't look optimal.

Hills Newborn Photographer-57_950

If we print it at 8x10", we now lose some of the image and it is ruined.

Hills Newborn Photographer-810_950

So please take this into account when you are selecting images for your walls and when you are printing at the lab or online. This following image shows how much of the image will be seen at these common sizes.

Cropping

How to hang a picture without requiring a wall stud | Sydney family photographer

I've had a few clients ask me about how I hang my acrylic images. I thought I would put together a quick video to show how I hang acrylics using a fantastic new product, that doesn't require you to find a wall stud. I hope you enjoy!

How to build a newborn backdrop stand

I have been using a regular backdrop stand for years, however, I spend too much time in photoshop smoothing out wrinkles in my blankets. There was a smart photographer somewhere on the globe that thought of making a backdrop stand out of plumbing pipes. This is genius! It means that we can now clamp our backdrops to the sides, as well as the top. The result is a smooth blanket. As smooth as the baby's bottom, so the saying goes. And it saves much time in photoshop. When I wanted to do this, I searched for a tutorial and I could only find American ones. American's stipulate measurements in inches and they also have different suppliers (cheaper suppliers!) So I thought I would write a tutorial for any Australians (or perhaps New Zealanders) that want to give this a go. I am so thrilled I finally did this and I can't wait to use it.

This tutorial will fit the shoot baby beanbag, found here.

What you will need: 4 x 20mm diameter 3m long plumbing PVC pipe - I got these from Bunnings. They were $4.79 each. 4 x right angle 20mm 90 degree PVC corners - They are $0.99 each at Bunnings 2 x 20mm PVC tees - They are $1.45 each at Bunnings 4 x 20mm Corner PVC pieces - I couldn't find these in Bunnings, Masters or the plumbing speciality shops. Instead, I found them on ebay. Unfortunately, this meant that I paid $15.30, including delivery for all four.

You will need a pencil, tape measure and a hack saw. If you have some sort of amazing electric saw that can do all pipe cuts at once…even better. You'll get this done in no time. If you only have the minimal tools, that's ok, you'll still manage. This is a picture of the materials you need.

DIY Newborn Backdrop Stand in Australia

You will need the following lengths: 7 x 112cm 4 x 43cm 2 x 62cm (you can afford to make this a little smaller if you wish)

I suggest the following cuts. This allows a larger piece at the end, in case you make a mistake anywhere.

Pipe 1: 112cm 112cm 62cm

Pipe 2: 112cm 112cm 62cm

Pipe 3: 112cm 112cm 43cm

Pipe 4: 112cm 43cm 43cm 43cm

You will now have a pile of pipes that look like this.

DIY Newborn Backdrop Stand in Australia

You can then put it all together using the following diagram.

DIY newborn backdrop stand in cms

You will now have a backdrop stand that sits neatly over your beanbag.

DIY Newborn Backdrop Stand in Australia

This is a picture that shows a pullback of your new setup.

DIY Newborn Backdrop Stand in Australia

And this is the final result you can expect, the straight out of camera (SOOC) shot of my 'model' on the backdrop. As you can see, there are no wrinkles to photoshop out! Yay.

DIY Newborn Backdrop Stand in Australia

It took me about 45 minutes to cut this all up and put it together. That will pay for itself very quickly with a reduction in photoshop time. It cost me $41.32. The costs are more than the American equivalent ones I have seen, but alas, we live in the expensive country! If you are on a tight budget, you can reconfigure the bottom with 90 degree and T pieces and have the bottom pieces in from the edge, so you eliminate the need for corner pieces. That will cost $32.88 instead.

I hope this tutorial is useful and I am sure that I will now save a lot of time (and frustration) in photoshop.

What's in my bag?

A lot of clients are interested in photography, and will ask me questions about my gear and what tools I use to get my job done. So I thought I would do a blog post about what's in my bag, and more importantly, why! 
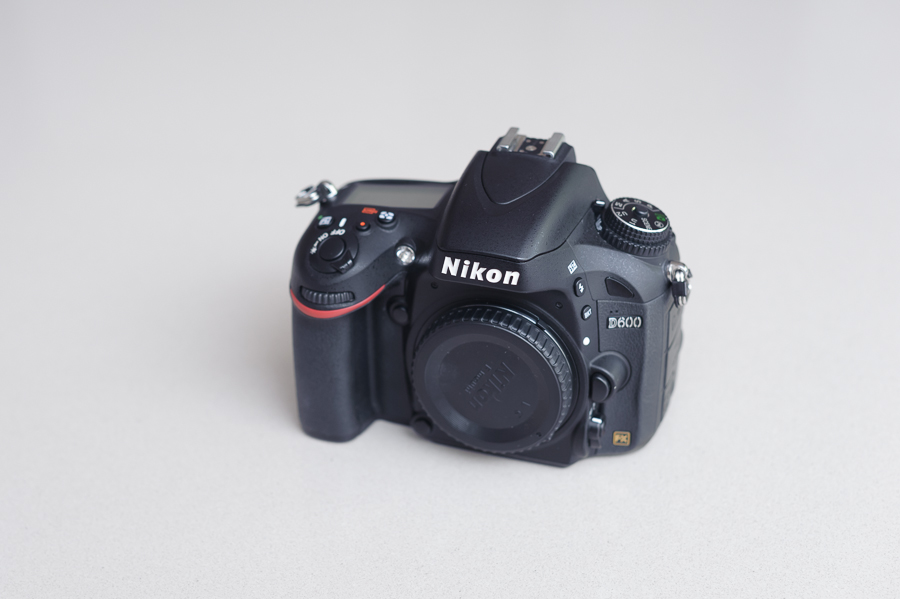
Nikon D600 - This is my main camera. I use this camera most of the time. I upgraded to this camera when I wanted to explore video more. I will discuss this a little later. What I love about this camera is: * It has 24MP, this is enough to be fantastic, but not so much that you need a new computer to process your images * The ISO performance is incredible. When shooting in low light, you may need to increase your ISO. Sometimes, a lot. This camera has usable images all the way past any ISO I use in regular sessions. * If you happen to underexpose an image, you can adjust your exposure in post without getting very much noise at all. This sets this camera apart from the D700 * It has dual memory card slots. I use both, so that I am backing up on the go. I have had a memory card fail on me before, and I never want to be in a position again where I am at the mercy of a recovery program (thankfully, the program worked!) * It has video. I believe more and more that video is our future. I love looking at stills of my children, but as they have grown, those sweet videos that capture their expression, their squeaky, high voices and their cute mannerisms are incredibly precious to me. I want to give this to my clients, too. The biggest downfall of this camera is the oil problem, that Nikon seems unwilling to address. Unfortunately, I've had this issue twice now, so this camera is not one I would recommend for a landscape photographer.

Nikon, whats in my bag, professional photography equipment

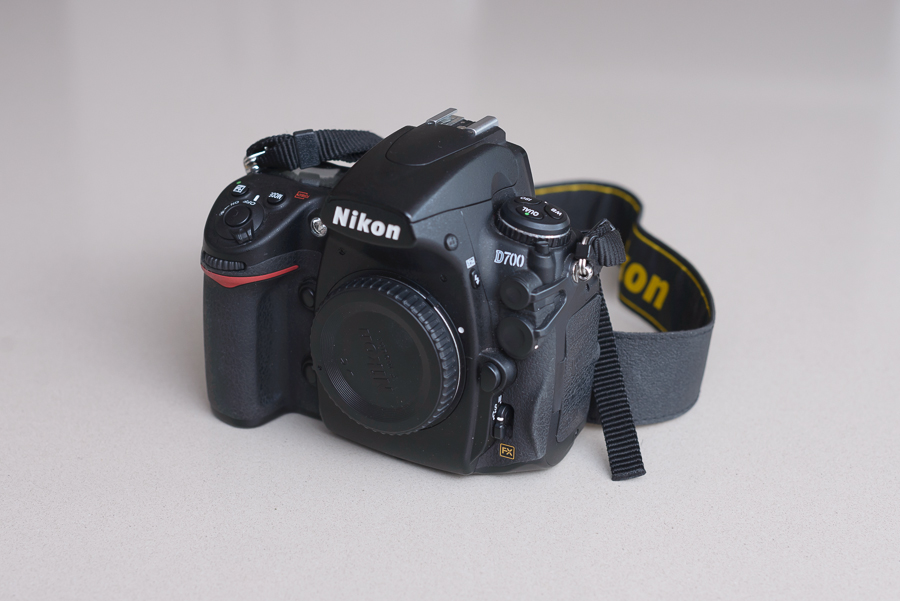
Nikon D700 - This is my backup camera. When you hire a professional, you are hiring someone who has a plan B, should plan A fail. From time to time, cameras will misbehave, and thus, we have a backup. The D700 is old technology now, but it's a beautiful camera. So much so, that the second hand market for this camera is strong and there is high demand for it. Lots of photographers lament that it is no longer in production. We are all hoping for a genuine replacement for this, and Nikon rumours are humming that this may be announced in September.

Nikon, whats in my bag, professional photography equipment

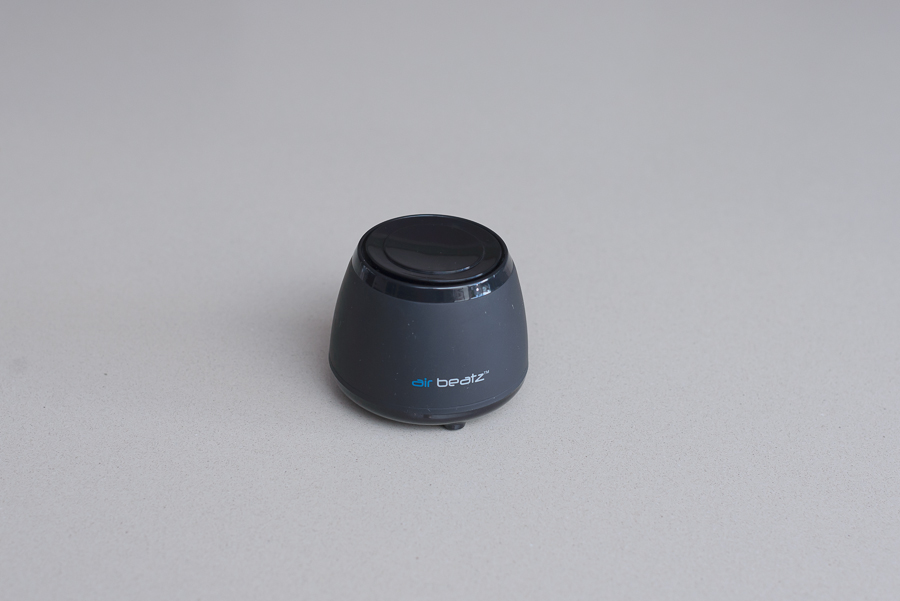
Speaker: I have a small bluetooth speaker in my bag. During newborn sessions, I play the MagicSleep app on my iPad, and play it through the speaker to soothe the baby (and me!)

Nikon, whats in my bag, professional photography equipment

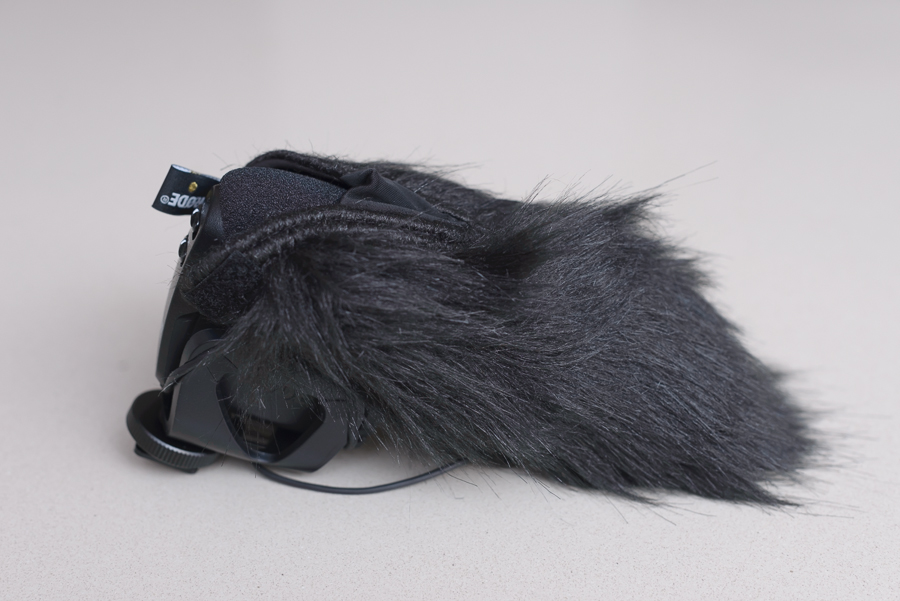
Video Mic Pro: As mentioned above, I am loving video at the moment and I have a great mic, to ensure that the sound quality is amazing. This image looks like roadkill, though I promise, it's actually a very good mic.

Nikon, whats in my bag, professional photography equipment

Speedlight:

Nikon, whats in my bag, professional photography equipment

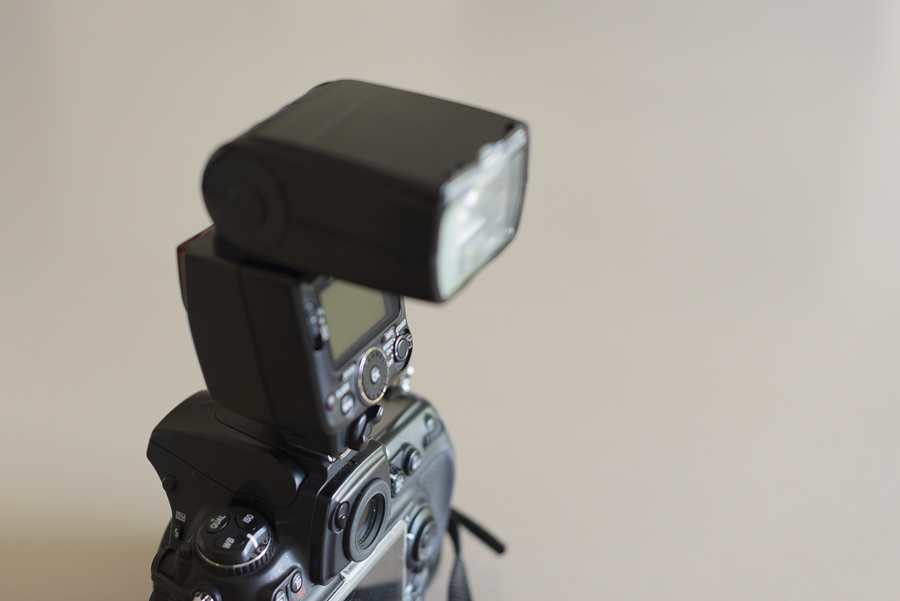
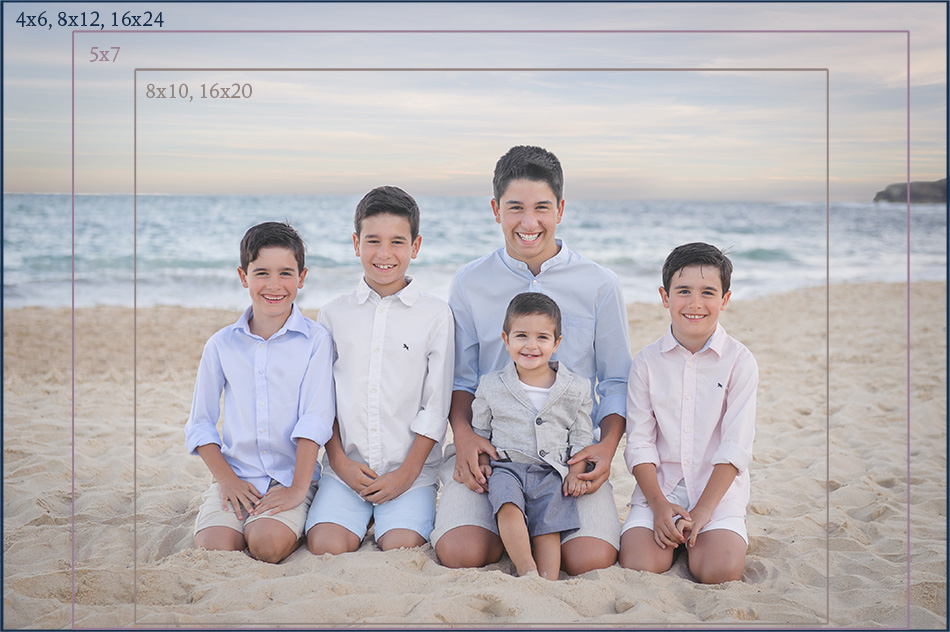
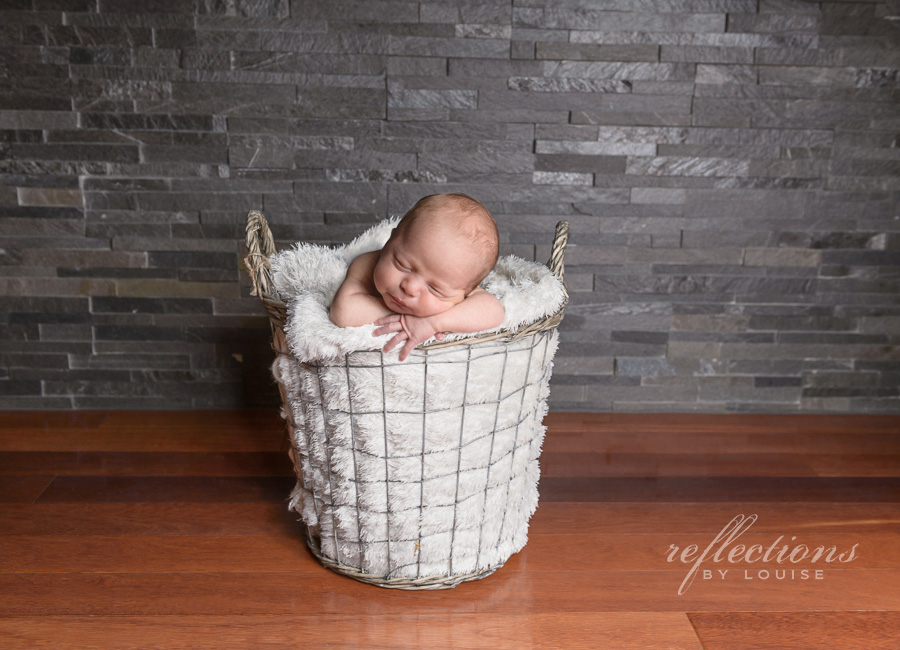
I generally shoot with available light, but there are times when I might love a location without ideal lighting, or I might be trying to shoot a larger group, so I need more light so that I can close down and get everyone in focus. I have a speed light with me at all times, and I will often have a soft box with me to diffuse the light. This image was taken against a stackstone wall that I love to use. The light is limited at this location, so using the speed light in my Westcott 28" is the perfect solution to create the vision I had.

Castle Hill Newborn Photographer, Castle Hill baby photography, Hills newborn photographer, hills baby photography

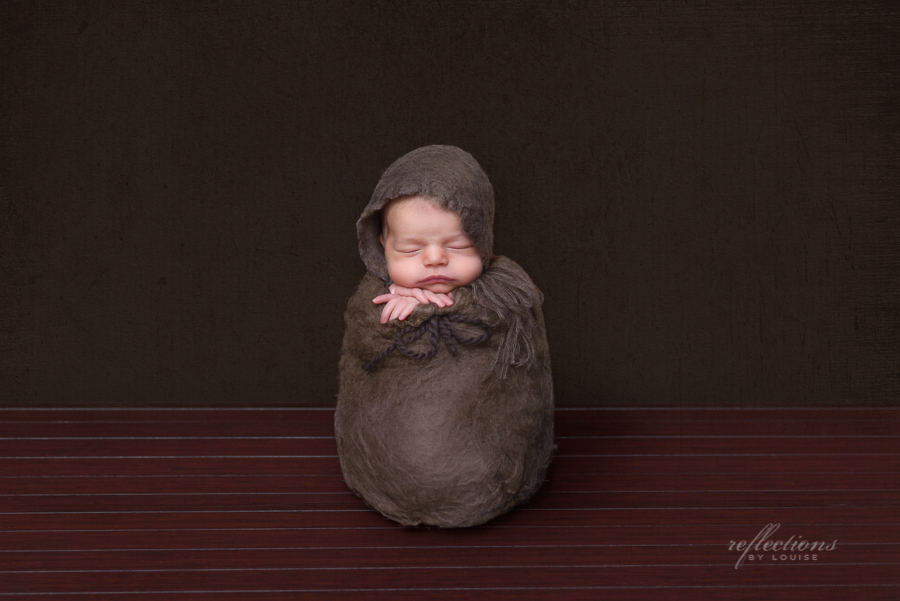
This is another image taken with a speed light bounced off the ceiling in a dark hallway;

carlingford newborn photographer, oatlands baby photographer, sydney newborn photographer, western sydney baby photography

Now we are getting to the fun (i.e. expensive) part. Lenses. Oh, sweet, sweet lenses.

Nikon 24-70mm 2.8

Nikon, whats in my bag, professional photography equipment

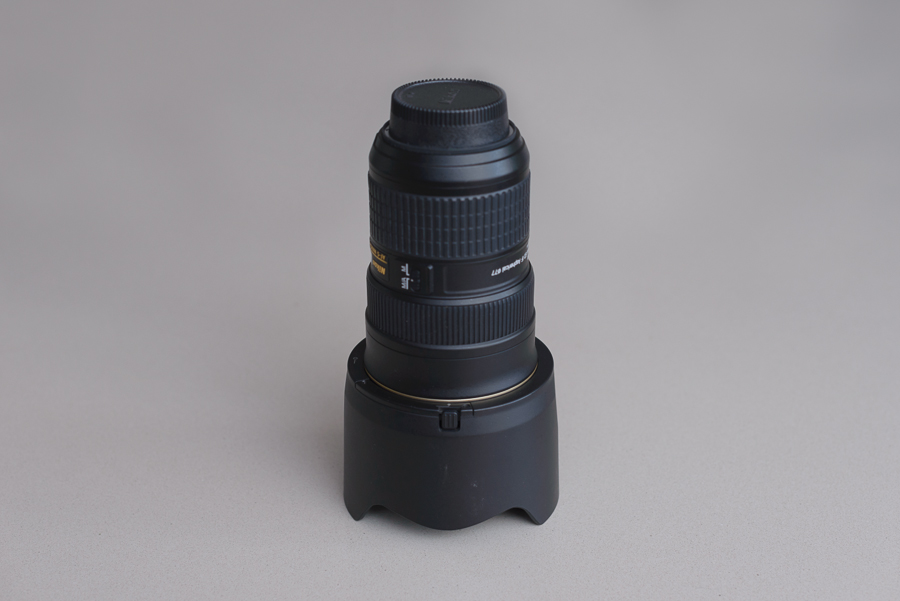
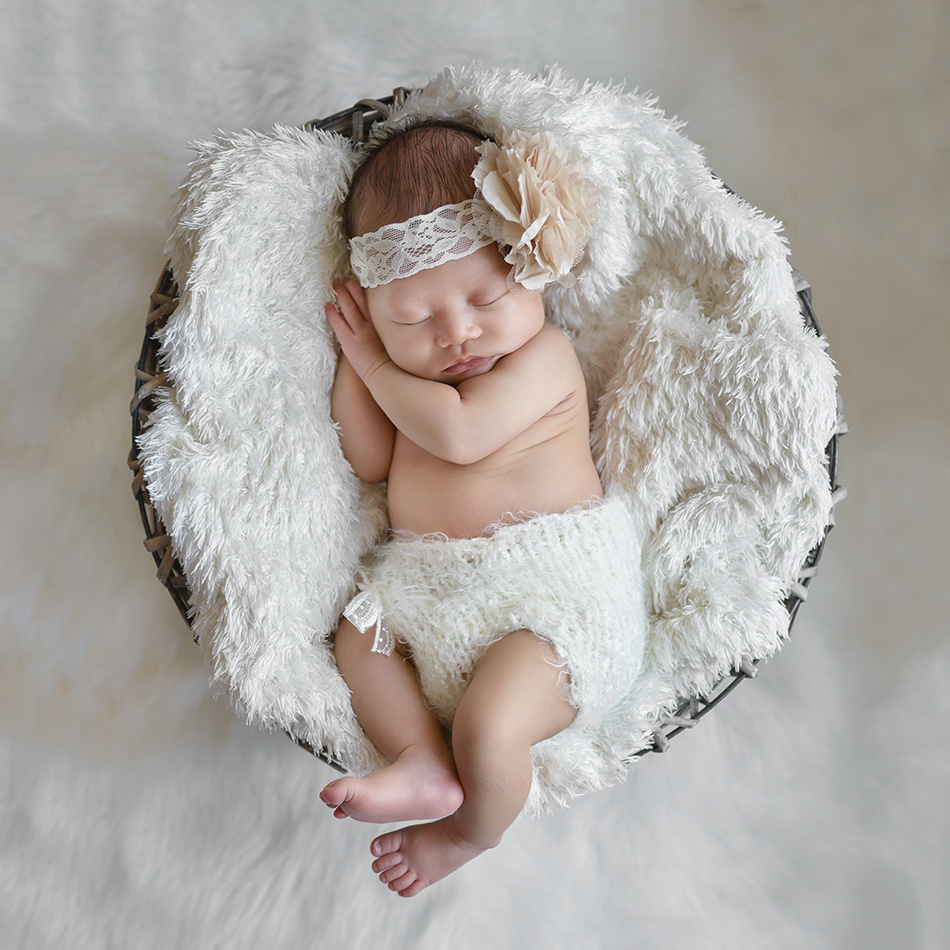
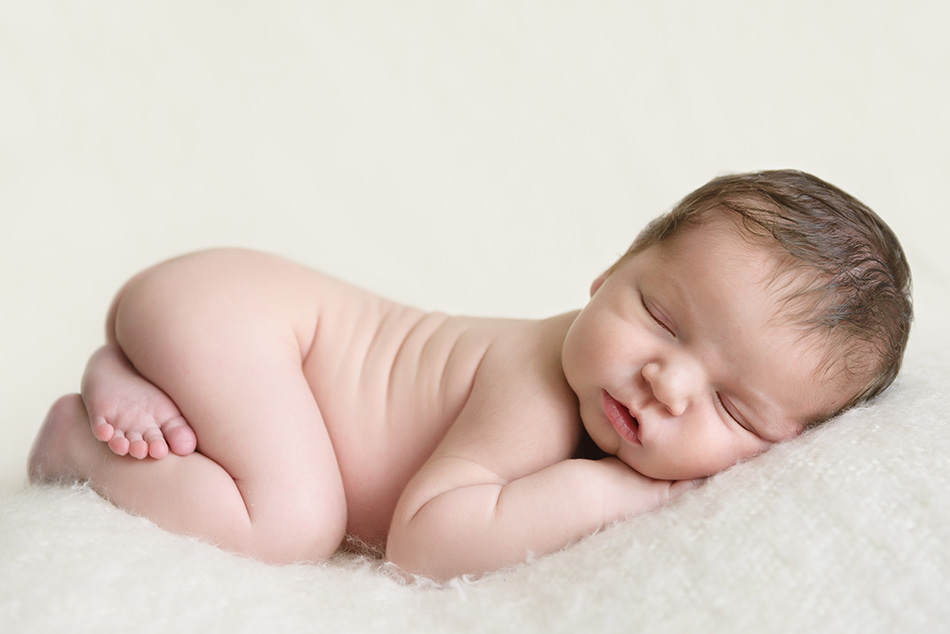
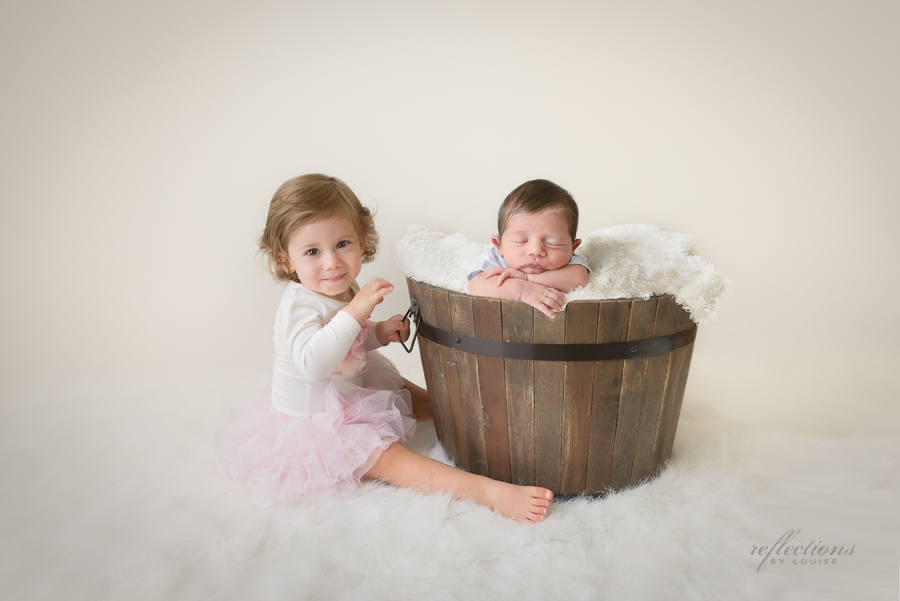
I love this lens. I call this my workhorse lens, as it's on my camera most of the time. The focal length is perfect for general photography, especially newborns. It's a zoom lens, so it is really versatile. Here are a couple of examples of images taken with this lens;

Sydney Family Photographer, Newborn Sibling shot, western sydney newborn photographer, how to prepare for your photoshoot, what to wear to your photoshoot

sydney child photographer, sydney family photographer, western sydney child photography, western sydney family photography, twins, identical twins, twin boys

Nikon 70-200mm 2.8

Nikon, whats in my bag, professional photography equipment

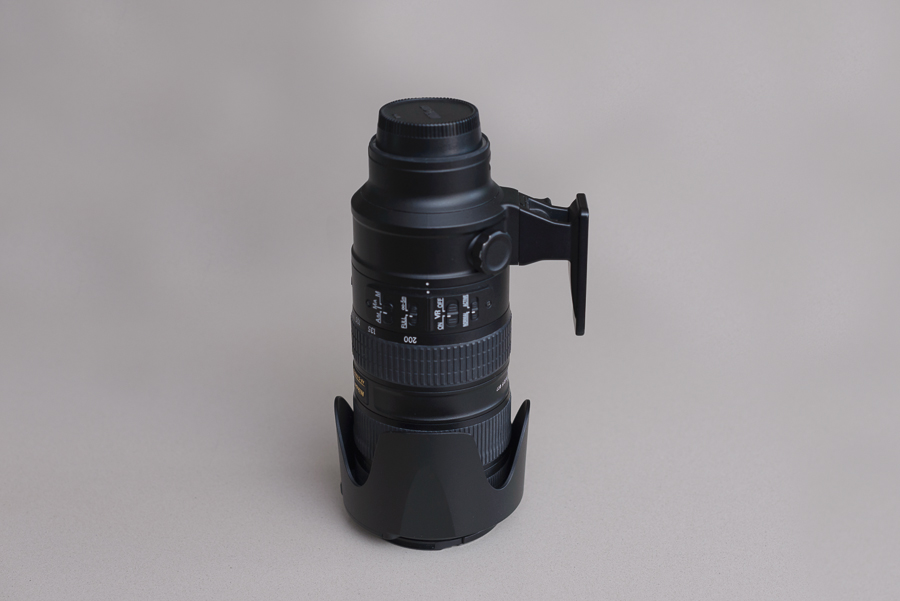
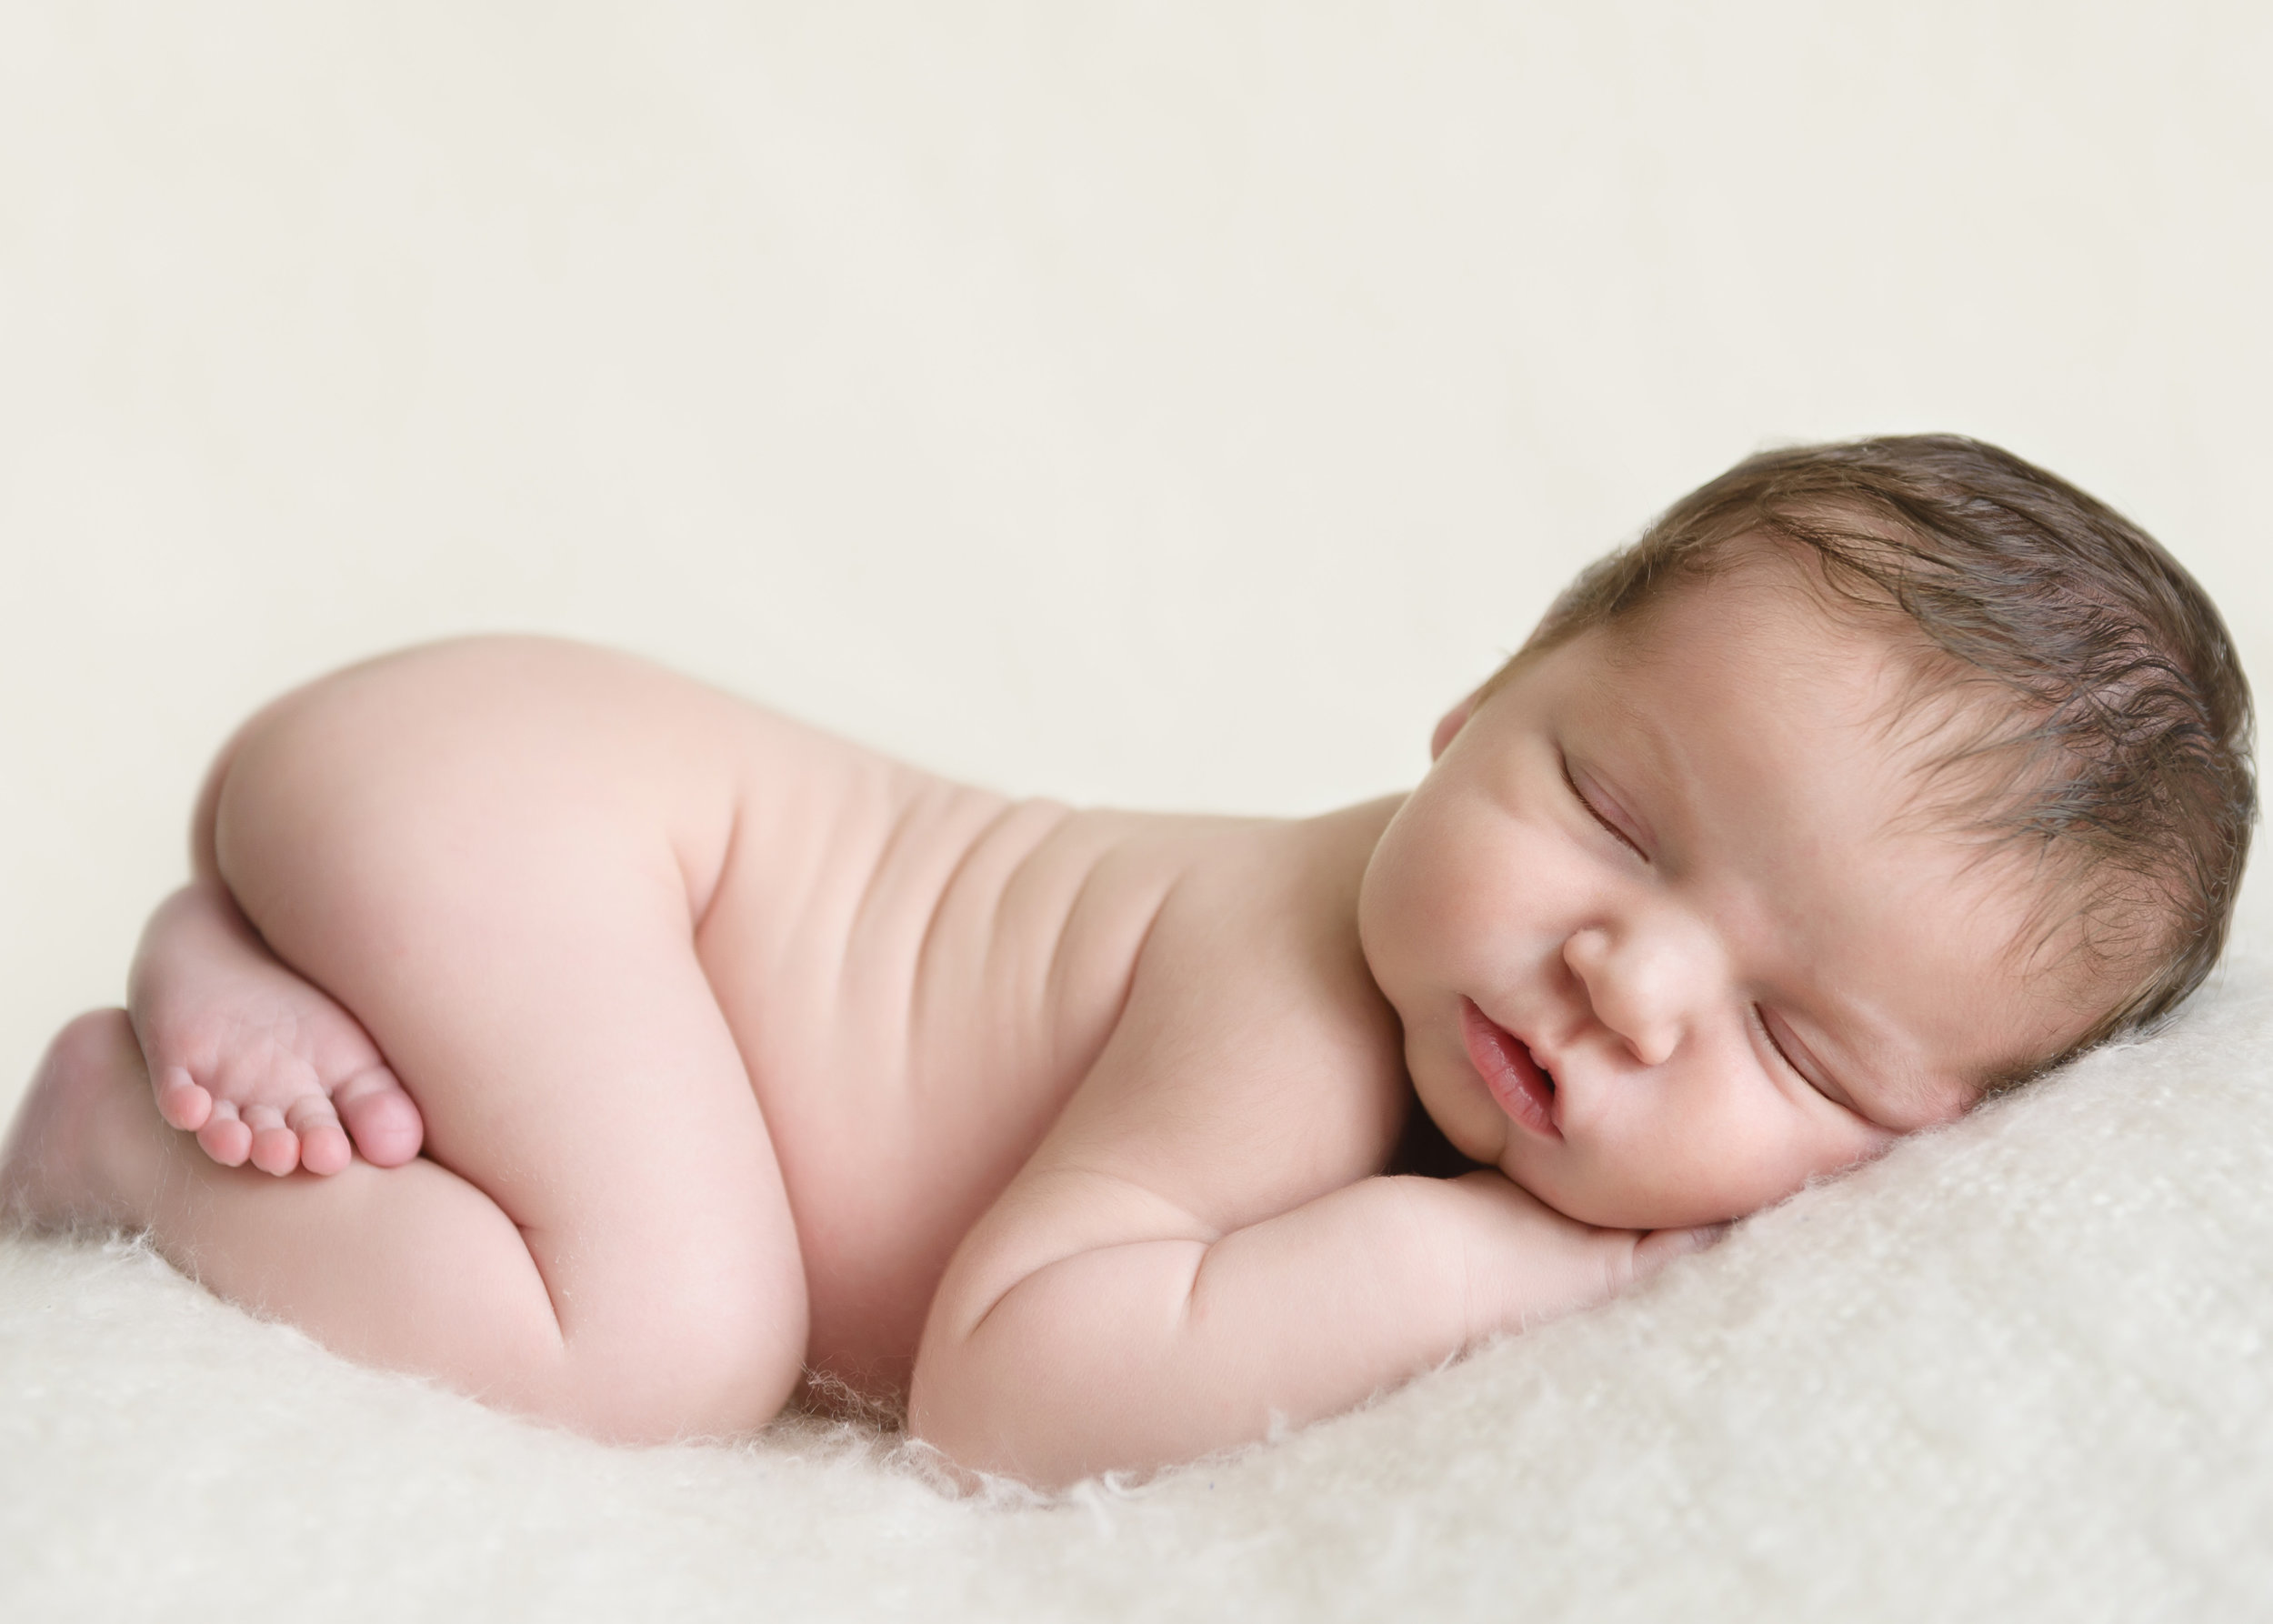
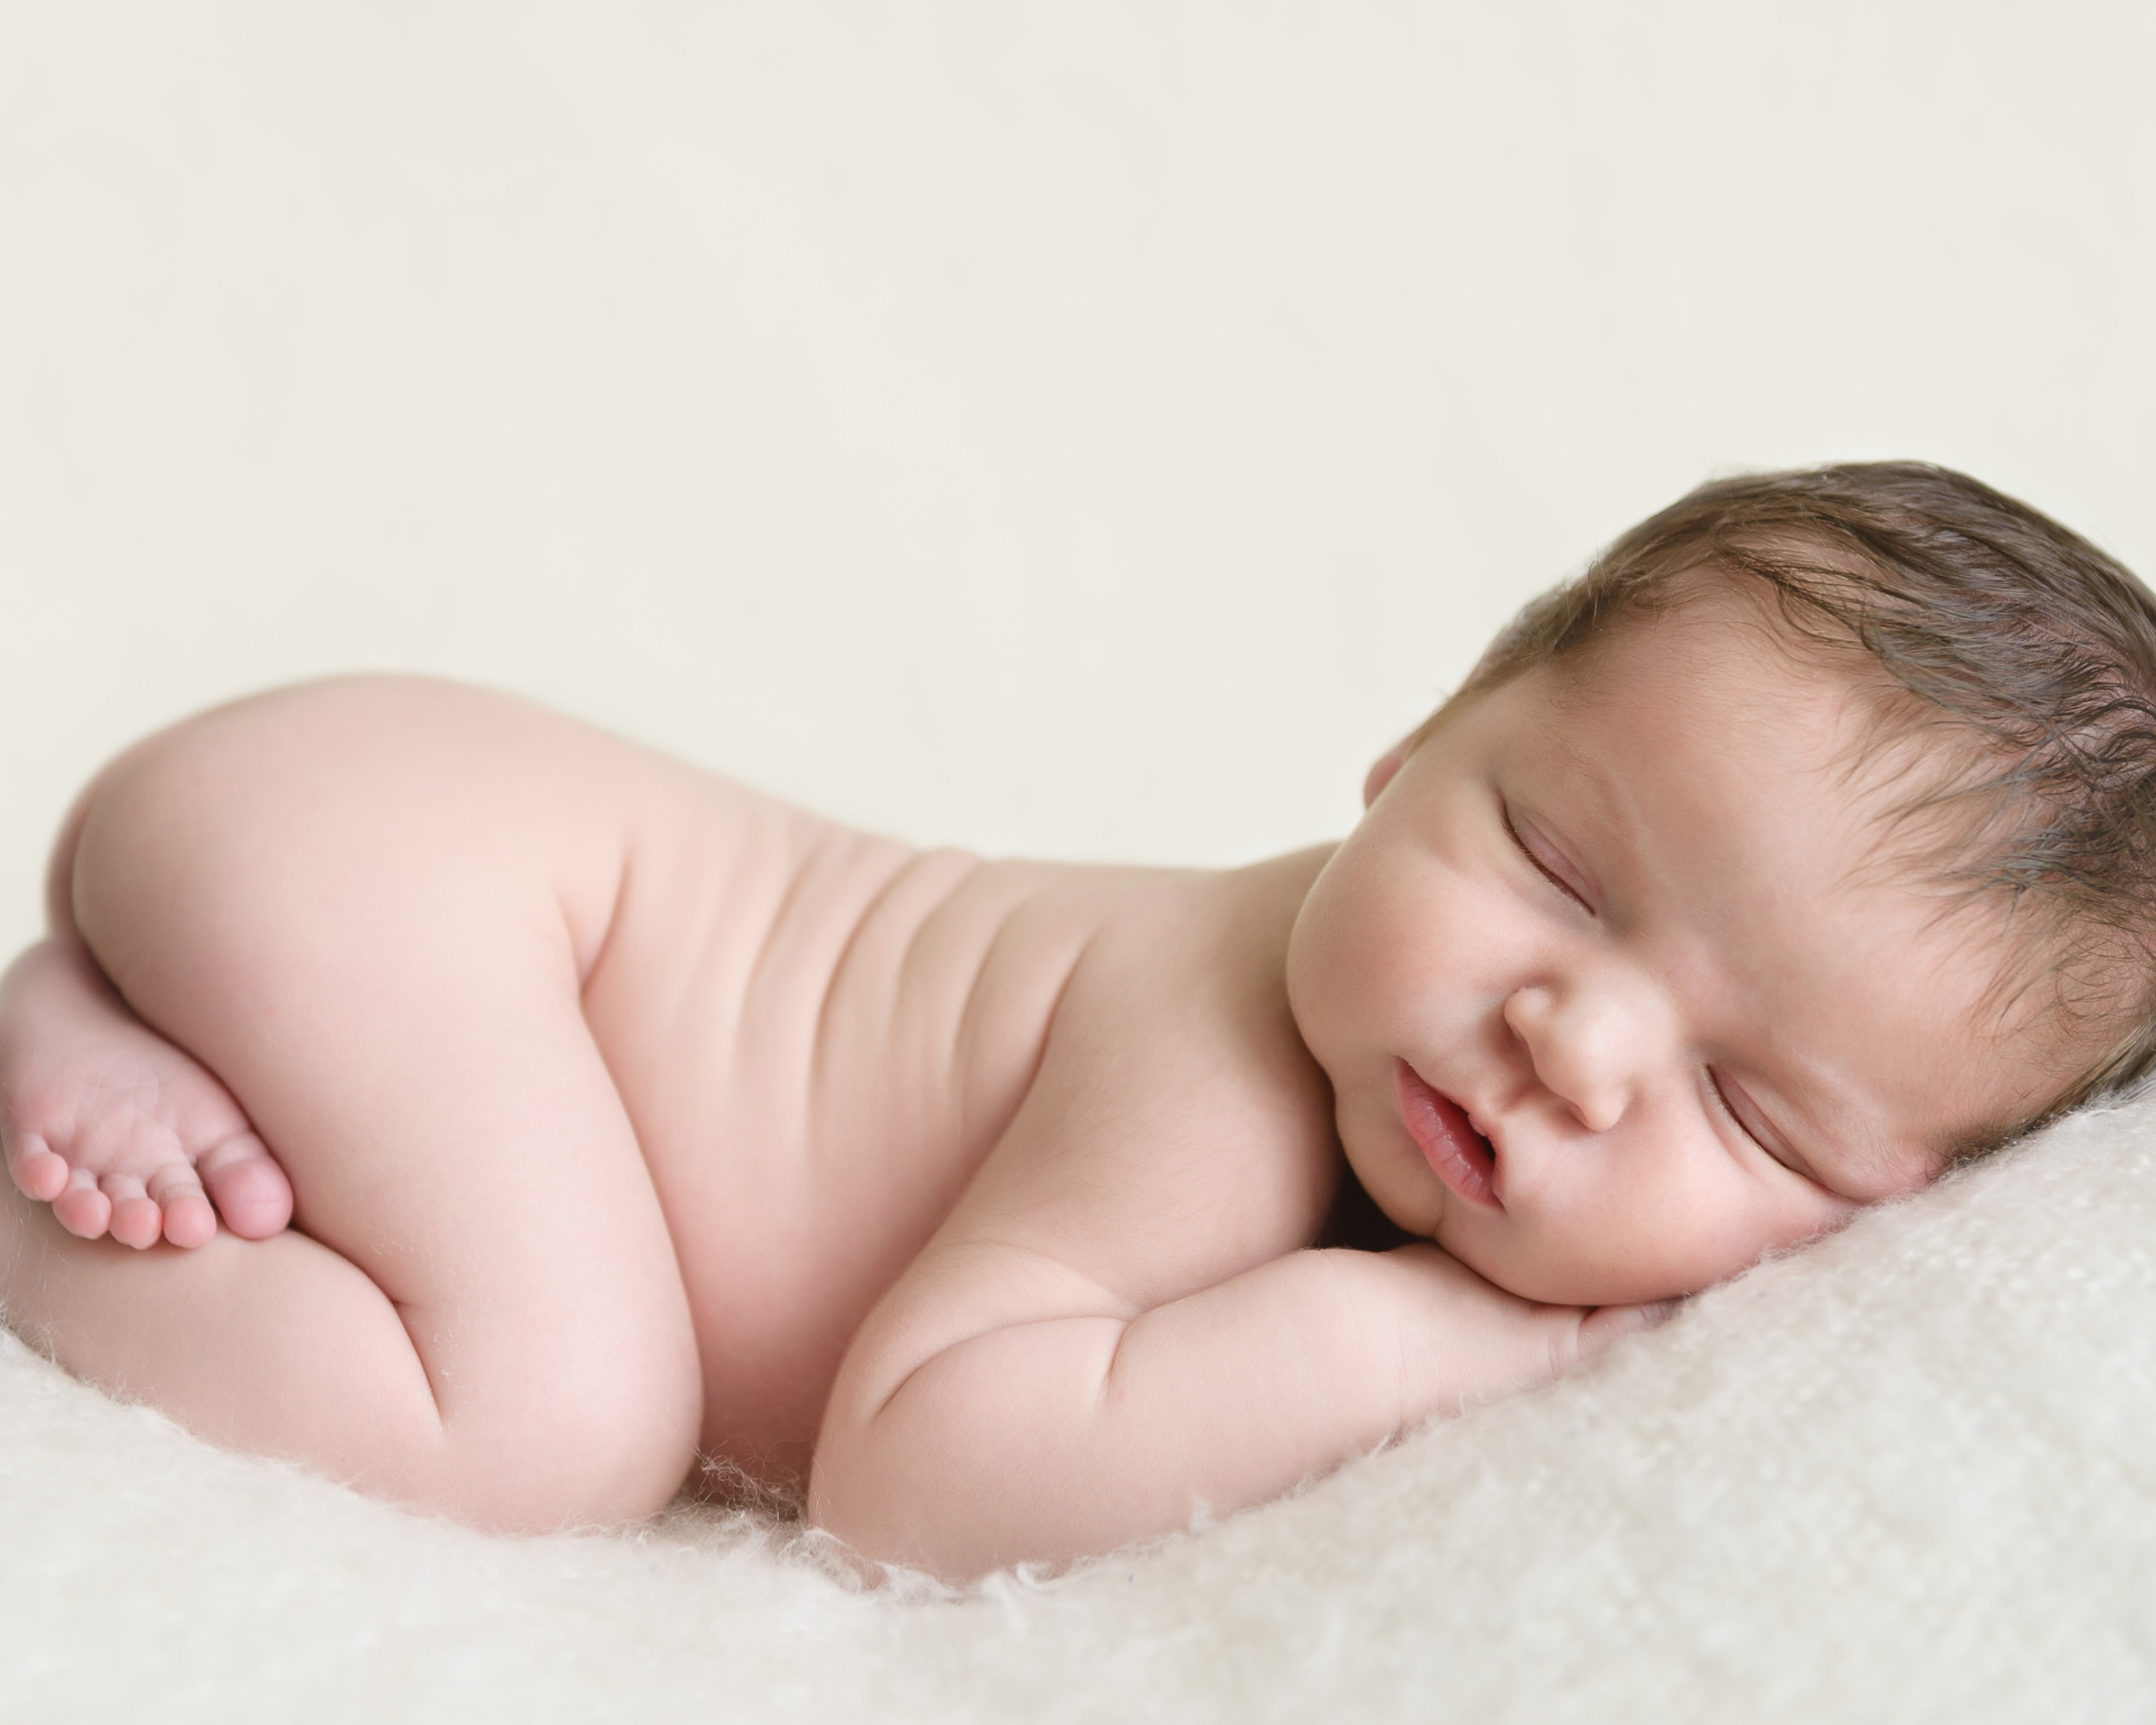
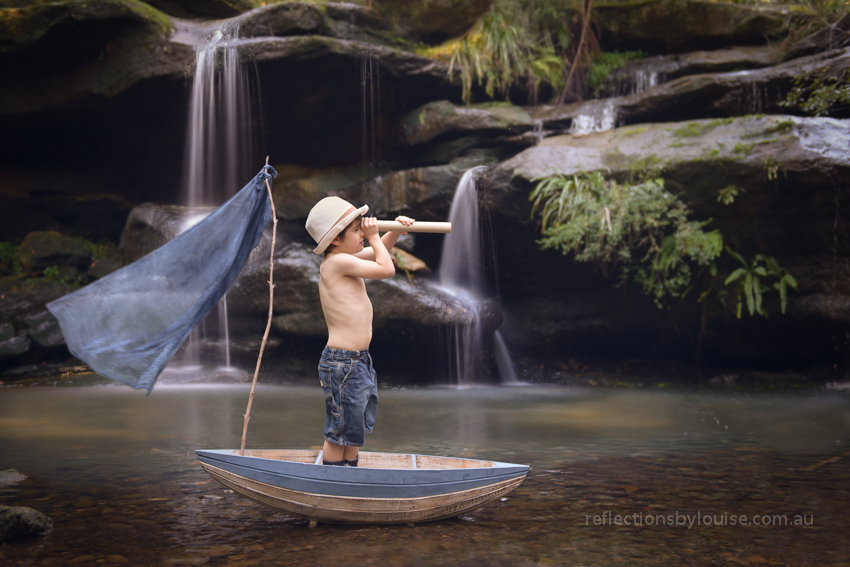
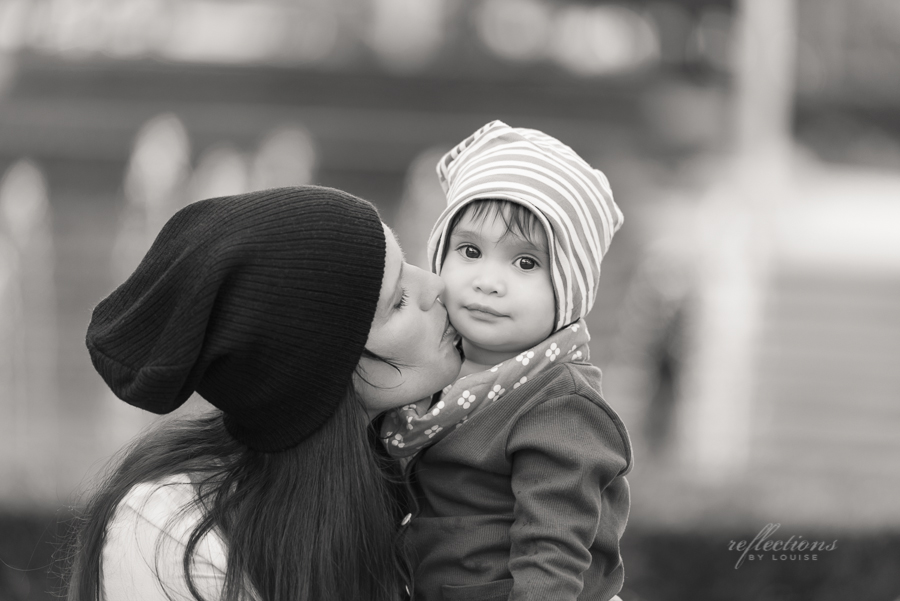
This lens costs more than some cars, but it's totally worth it. It gives the most beautiful bokeh (pronounced boke-eh). Bokeh is the lovely background blur that you get when a client is in focus, but the background is out of focus. This lens sings when used at f2.8 at 200mm. I will often use this lens outdoors. Sometimes, I strap two cameras on a harness, and use a mixture of this lens for lovely bokeh and background compression and something wider for full family and environmental shots. These are images taken with the 70-200mm lens;

sydney family photographer, child photographer, hyde park, sydney baby photographer

sydney family photographer, child photographer, hyde park, sydney baby photographer

Sigma 85mm 1.4

Nikon, whats in my bag, professional photography equipment

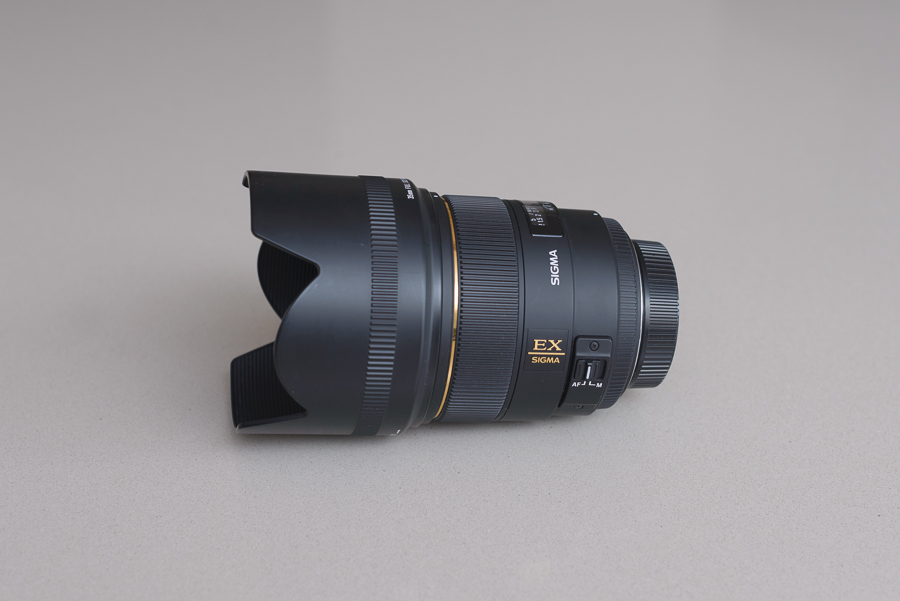
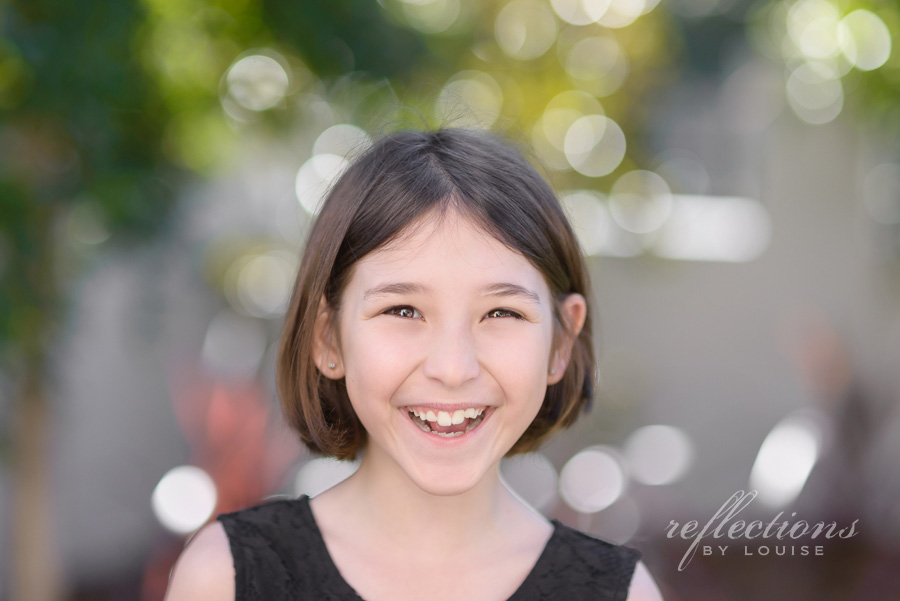
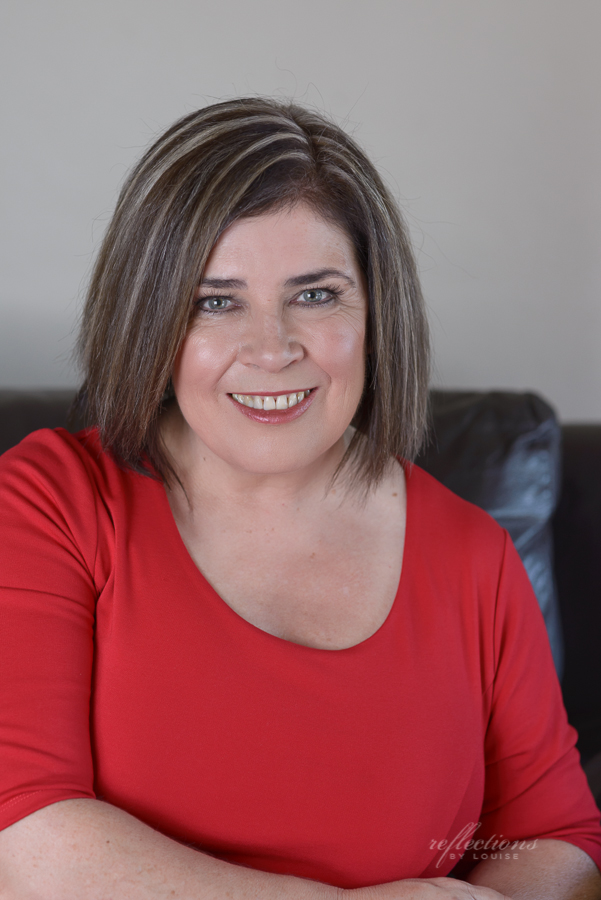
I wasn't too sure I'd need this focal length, since I have the 70-200, however, this lens can open up to f1.4. What does this mean? More beautiful background blur, but I am not quite as far away from my subject. This is a lovely portrait lens, and I often use it for head shots. These were taken with my 85mm;

Sigma 85mm 1.4, Sydney Headshot PhotographerSigma 85mm 1.4, Sydney Headshot Photographer

Nikon 50mm 1.4

Nikon, whats in my bag, professional photography equipment

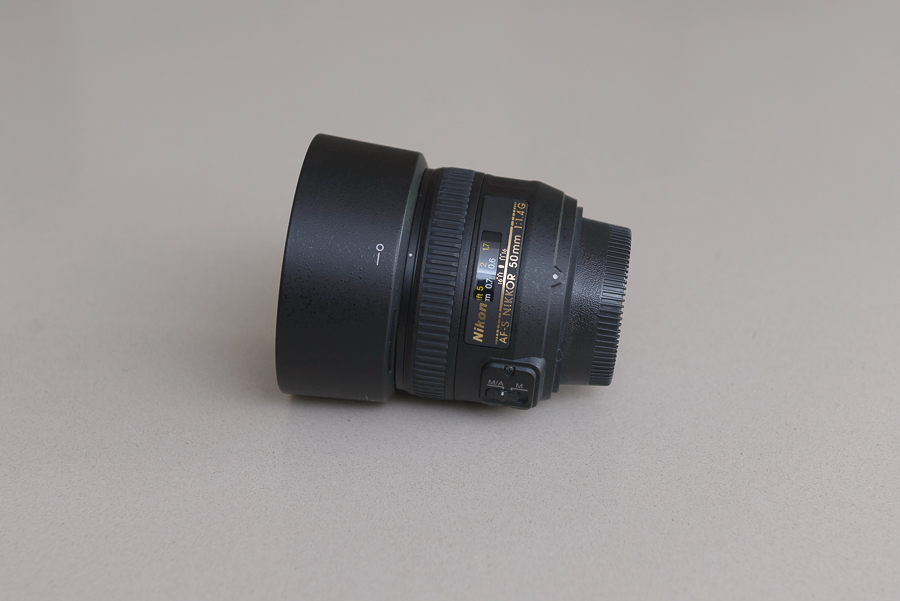
I don't use this lens as much anymore for stills, as the 24-70mm covers this range. Where I would consider it, is in very low light. I can open up to f1.4, which will allow lots of light in. However, this lens is my go to lens when shooting video, as it is light, so it reduces camera shake and it can open up wide to create background blur.

Of course, I have a tonne of different batteries, camera straps, and spare memory cards in my bag, as you can never be too prepared. My actual bag is a Lowepro backpack. I used to have a cute handbag, but I outgrew that when I bought too much equipment. The backpack distributes the weight evenly over my shoulders, as all of that equipment weighs a lot!

I hope you have enjoyed the tour of my camera bag :)

Behind the scenes | Sydney Family Photographer

I had a few private messages and emails about the following image, so I thought I would give a behind the scenes look at what my vision was and how this image was created. A little bit of background first...when it comes to photography, I like clean lines, clean processing and uncluttered imagery. I have been trying to push myself lately, both in terms of imagery and processing. I am pushing my vision of styling the shoot and telling the story. I am also playing more with post processing, to try and enhance the story telling.

My vision for this shoot was a boy in a boat. He is on an adventure and is looking out to the distance, contemplating what is ahead, what is in the future. My vision had a whimsical feel. And with that in mind, I headed out with my 5 year old twins into the bush.

This is the plate shot, the basis of the image.

Waterfall, hunts creek, boy in a boat

This is a pretty magic setting in Carlingford, but still, I wanted something more whimsical. I wanted the water to be more misty. I knew I needed a slower shutter speed to make it happen. I was going to experiment with my flash, to see how far I could lower the shutter speed, however, it was a cold day and I didn't want my son to have to wait in the cold as I experimented with my equipement, so I decided a composite would do. My tripod broke (yes, everything was going against me that day), so I used a rock as a tripod to get this image, which became the water shot.

Waterfall, hunts creek, boy in a boat

I knew I wanted the boat to have a sail, so I made one from some material I have for my newborn shoots, and a stick we found on the way into the bush. My twins helped create the image.

Waterfall, hunts creek, boy in a boat

And finally, I got one of the boys into the boat in the pose I had in mind.

Waterfall, hunts creek, boy in a boat

I took all of these images into photoshop and merged them together. This process was quite time consuming, as I was quite specific with what I wanted my image to be. So there was plenty of cloning, masking and patching to make the final image just right. This is the final result and I was so pleased that it turned out very close to my original vision.

Waterfall, hunts creek, boy in a boat

Top 10 tips for taking great photos of the kids

I often get asked how to get great photos of the kids. So I will give you my 10 tips for getting great images. Keep reading, as there's a gift at the bottom of the post. Tip 1: Keep your camera handy. Keep it on the counter or in your handbag but never tuck it away in a drawer. You want it close by for those times where you want to capture the moment.

 Tip 2: Get down on their level so they can look directly into the camera. How many images do you have of your children looking up at you?

Tip 3: Leave the cheese for the fridge! Smiles are not necessary for a beautiful portrait.

Tip 4: Timing is key. The only child who photographs well when they are sleepy, is a newborn. All other children should be fresh, fed and happy!

Tip 5: Make it fun! This has personally been one of the things that I have found most successful with my children. We laugh and we have fun. If they tell me they don't want to do it, I never force them. This way, it is never seen as a bad experience. Sometimes, they even ask me for a photoshoot because they are so much fun!

(Please note: some of these images are photoshopped. It's a part of the fun!)

Tip 6: Focus on the eyes. The eyes should be the sharpest part of your image. So when you are pressing the button to lock in focus, your main point of focus should be the eye of the person closest to the camera.

Tip 7: To make the eyes sparkle, make sure you are getting light into them. Light reflecting in the eyes are called "catch-lights". This makes the eyes become as bright as possible and draws our eye toward them.

Tip 8: Capture the sweet moments, not just the posed ones. These are the ones that will make your heart melt years later when you look back on them.

Tip 9: Unless you have an off-camera flash, turn your flash off and get close to the window or another source of natural light. Natural light is softer and is more flattering than the flash on your camera. Having more light allows your camera to have a higher shutter speed and therefore, less blur, so get close to a large door or window to allow lots of light to envelop your subject.

Tip 10: Keeping shooting regularly. The children grow quickly and these photos will soon become your most valued possession.

And for the FREEBIE, if you would like to download this information as an app on your mobile device such as your iPhone, iPad or Android device, please click on THIS link. Please note, it is best to connect to your WiFi before launching for the first time. Once you have downloaded it, you can open it anywhere.

Happy snapping!